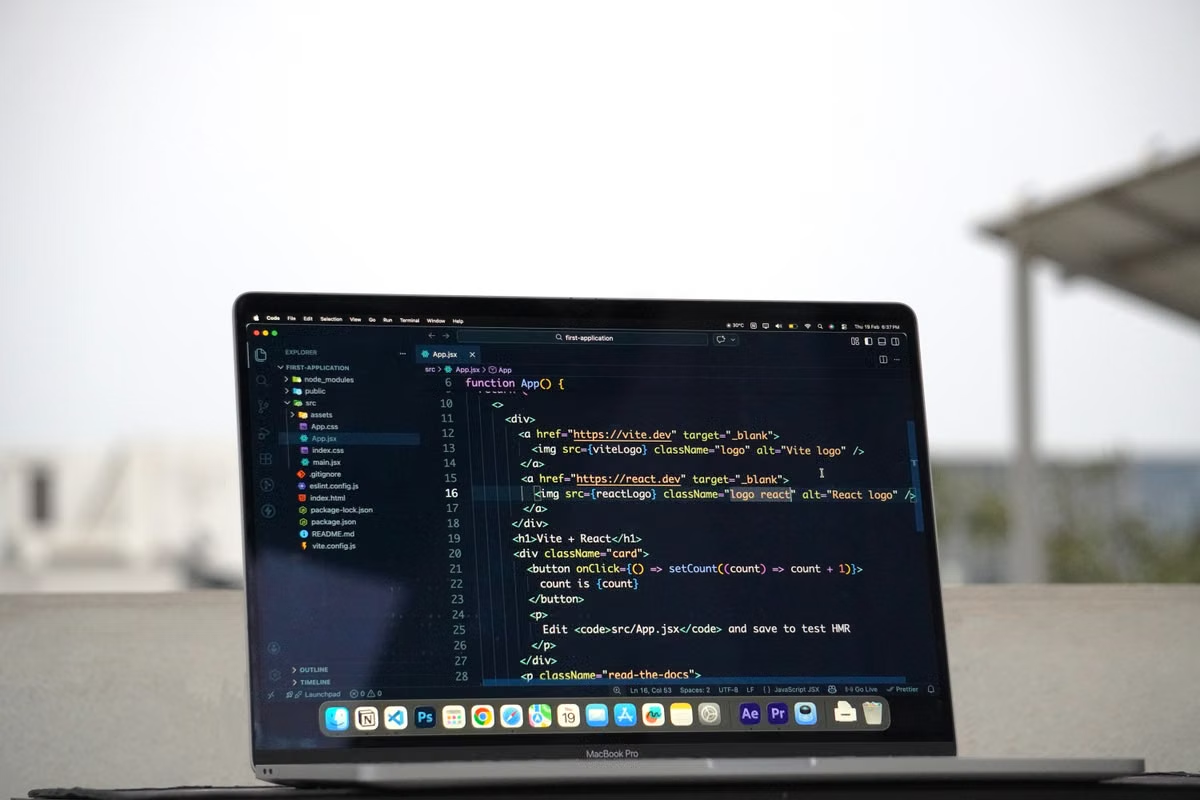
Use XcodeGen Remote Mac CI by storing the project specification in version control, generating the Xcode project explicitly in the CI job, and then building and testing it with Xcode’s command-line tools. This is the right workflow when your project can be generated from a maintained specification and you can validate the actual targets and schemes your team ships.
For developers maintaining multiple Apple-platform targets: use the specification to review project configuration changes instead of relying on untracked edits in Xcode.
For CI engineers and small teams: make generation, dependency installation, and Xcode builds reproducible without depending on a developer’s local project state.
This week’s action: run the full workflow from a clean checkout on the remote Mac. Treat a generated project as an intermediate artifact, not proof that the application builds or tests successfully.
Define what the workflow must prove
XcodeGen reads a YAML or JSON project specification and generates an Xcode project. The remote Mac supplies the Apple toolchain that builds and tests that project. Those are separate responsibilities: a successful generation command does not establish that the generated targets compile, that the intended scheme is shared, or that tests pass. The XcodeGen documentation describes the specification formats, generation purpose, and command-line usage.
Before changing CI, identify the repository’s current source of truth. Look for the project specification, source directories, dependency files, target definitions, schemes, and any scripts that set build settings. Record the expected output path and the build and test actions that represent a useful acceptance test for your team.
What does XcodeGen do in remote Mac CI? It turns a checked-in project specification into an Xcode project during the job. The remote Mac then uses Xcode’s command-line tools for Apple-platform build and test work. Keep those steps visible in logs so a failure points to generation, dependency setup, or the Xcode toolchain rather than leaving the cause unclear.
A common failure is to equate “the project file exists” with “the project is valid.” Generation can complete while a scheme name is wrong, a source path is missing, a dependency is unavailable, or a target has settings that do not match the intended build. Define acceptance as a representative build and test from a clean checkout.
Keep secrets out of the project specification and build logs. Pass credentials through the CI environment using your organization’s approved secret-handling process, and limit access to them to the jobs that need them.
Prepare inputs before the first remote run
Start by putting every input needed to generate the project under review. That usually includes the XcodeGen specification, source files, dependency declarations, and scripts that configure the build. Avoid relying on files that exist only on a developer’s workstation. A clean worker cannot reproduce an undocumented local change.
Next, document the expected toolchain and dependency process. Select the Xcode version required by the project, then verify the installed version and selected developer directory on the remote Mac. Apple’s Xcode command-line tool reference covers the tools supplied with Xcode. Do not assume that a project’s Xcode requirement follows from XcodeGen itself; confirm it against the project’s settings and actual build results.
| CI input | What to define before running | What to verify in the job |
|---|---|---|
| Project specification | File location, target definitions, source paths, and project output | The expected project is generated from the checked-out file |
| Xcode toolchain | The Xcode version and developer directory required by the project | Command-line tools resolve to the intended Xcode installation |
| Dependencies | The project’s package manager and install or resolution process | A clean job can obtain dependencies without undocumented local state |
| Scheme and action | The scheme and build or test action used for acceptance | The requested scheme is available and the action completes |
| Environment and secrets | Required variables, access boundaries, and non-secret defaults | Logs do not disclose secret values |
If the project uses CocoaPods, make the dependency step match the lockfile and team policy. CocoaPods distinguishes between installing dependencies and updating them; its install-versus-update guidance explains why those operations should not be treated as interchangeable. Do not add a dependency installation command merely because another repository uses it. First establish which dependency manager your project actually uses.
Should the generated Xcode project be committed to Git? That is a repository policy decision, not a universal XcodeGen rule. Choose based on how your team reviews project changes, what downstream tooling expects, and whether generation is a required part of the build. Whichever policy you choose, document it and test it from a clean checkout. The XcodeGen FAQ is a useful reference for project-specific questions, but your repository’s reproducibility test is what confirms your policy works.
The trade-off is straightforward. Generating the project in CI keeps the specification central and makes generation a visible part of the workflow. Committing generated files can make them immediately available to tools that expect them, but adds another artifact whose changes need to stay consistent with the specification. Avoid adopting either approach simply because it is common elsewhere.
Step 1: Generate the project on the remote Mac
Make the generation step explicit and run it from a known working directory. Install or invoke XcodeGen according to its official installation and command-line instructions. Then call the generation command with the specification file and output location used by your repository. For example, a project using the conventional project.yml filename may use:
xcodegen generate
If your specification has another name or location, use the documented option to identify it rather than silently copying or renaming files. Keep the command in the CI script or workflow definition so reviewers can see when generation happens and which inputs it uses.
After generation, check the result rather than relying on the process exit status alone. Confirm that the project exists at the expected path, that the required targets appear, and that the intended scheme is available. Compare important build settings with project expectations. If your repository has a generated project committed, inspect whether the CI run changes it; if generated files are intentionally excluded, confirm that downstream build commands can still use the output.
| Generation check | Evidence to capture | Failure it can reveal |
|---|---|---|
| Specification is found | Working directory and generation command in the job log | CI ran from the wrong directory or used the wrong file |
| Project is produced | Expected output path and generated project name | Output went elsewhere or generation did not complete |
| Targets match expectations | Target names from the generated project | Specification omitted or renamed a target |
| Scheme is usable | Scheme listing or the actual build command | CI refers to a scheme that is missing or not shared |
| Generated changes are understood | Repository status after generation | A change is unexpected or the commit policy is unclear |
For projects with custom schemes, review the scheme configuration as part of the specification and repository policy. Apple’s guide to customizing build schemes describes how schemes control project build behavior. This matters when a project has multiple targets or uses different actions for development and CI. Do not assume a scheme’s presence means it represents the release or test workflow you intend to validate.
How do you generate an Xcode project from project.yml in CI? Run XcodeGen in the checked-out repository, point it at the project specification when needed, and make its output location explicit in the following build step. Keep generation before xcodebuild in the job. If the command succeeds but the expected project or scheme is absent, stop there and diagnose the specification or working directory instead of letting a later build error obscure the cause.
Step 2: Build with the generated project
Once generation and dependency setup are complete, call xcodebuild against the generated project or workspace. Apple documents command-line build operations in its Xcode build command reference. Keep the selected container, scheme, and action visible in your CI configuration. A project-based command follows this general shape:
xcodebuild -project GeneratedApp.xcodeproj -scheme App build
Replace the example names with the actual output path and scheme in your repository. If the dependency manager produces or requires a workspace, use that workspace rather than assuming the generated project is the correct build container. Make the difference explicit in your scripts and logs.
For a test run, use the project’s actual test action and scheme. Apple’s automated testing documentation explains Xcode’s test automation options. Your acceptance step should represent the tests the team relies on, not merely a command that returns success without exercising the relevant targets.
What if generation passes but the iOS build fails? Treat it as a separate stage failure. First confirm that the build command points to the generated project or required workspace and requests the intended scheme. Then check dependencies, target settings, and the selected Xcode toolchain. Preserve the generation and build logs separately so you can identify whether the failure began before or after the generated project was consumed.
For diagnosis, capture the command and relevant non-secret environment details. Avoid dumping all environment variables: they may contain credentials. If build-time issues are intermittent, use Xcode’s documented build timing facilities to investigate where work is spent; Apple’s incremental build guidance discusses build timing and analysis. Do not turn a single timing observation into a general performance claim about remote Macs or a different project.
Step 3: Validate the full workflow from a clean checkout
A representative scenario makes the acceptance boundary concrete. Imagine a team has several Apple-platform targets and a project specification that developers update in code review. A CI job generates the project successfully, but the build later fails because the job names a scheme that is not available in the generated output. The useful fix is not to mark generation “green” and move on. Make the scheme check and representative build part of the same clean-checkout acceptance path.
Use this checklist before relying on the workflow for continuing CI:
- [ ] A clean checkout contains the specification, source files, dependency declarations, and required scripts.
- [ ] The job selects the intended Xcode installation and records the toolchain version.
- [ ] XcodeGen runs explicitly from the expected directory with the intended specification.
- [ ] The generated project appears at the path used by the build step.
- [ ] The target and scheme required for acceptance are present and correctly named.
- [ ] Dependencies are installed or resolved using the project’s documented process.
- [ ] The build command targets the correct project or workspace and scheme.
- [ ] A representative test action runs against the intended target.
- [ ] Repository status after generation matches the team’s generated-file policy.
- [ ] Logs separate generation, dependency, build, and test failures without exposing secrets.
If your workflow runs on a self-hosted CI runner, include access control and job isolation in the review. GitHub’s self-hosted runner security guidance explains security considerations for runners. A Mac used for CI is not just a build target: it also processes repository code and CI inputs. Decide which repositories and workflows can reach the runner, and avoid giving untrusted jobs access to sensitive credentials.
Repeat the workflow after a change to the project specification or dependency process. The key question is whether the same checked-in inputs produce a project that the chosen Xcode toolchain can build and test. If the output differs unexpectedly, investigate the specification, tool versions, and dependency resolution before treating the variation as harmless.
Keep the CI record useful after setup
Record enough information to reproduce a failed run: the checked-out revision, XcodeGen invocation, selected Xcode toolchain, dependency steps, build container, scheme, and the stage that failed. Pin or otherwise manage tool versions according to your team’s maintenance policy, and update them through a reviewable change. Avoid hard-coding assumptions that are not verified against your project or official documentation.
A clear pipeline gives reviewers a direct path from configuration change to result: the project specification is reviewed, generation runs, dependencies are prepared, and Xcode builds and tests the generated output. Keep those stages distinct. If a future Xcode or XcodeGen update changes behavior, you can identify which part needs revalidation rather than guessing from a single end-to-end failure.
If you need to confirm the remote access and operating details before adopting this setup, review the osxmesh support information. For temporary CI capacity or a test environment, compare your current arrangement with a remote Mac against practical constraints: a Linux-only host cannot run Apple’s Xcode toolchain, a developer’s personal Mac can be unavailable or tied to local state, and buying dedicated hardware adds procurement and maintenance responsibilities. A remote Mac is not automatically the right answer for a permanent, heavily loaded build fleet or for workflows requiring physical peripherals. But when you need a real macOS environment for a bounded project validation or temporary build workload, osxmesh plan details can help you assess whether renting fits the workflow before you commit to owning and operating another machine.
Run Your CI on a Dedicated Remote Mac
Use an osxmesh dedicated physical Mac as a remote runner for your macOS build workflow.
Rent a cloud Mac